How to Install EasyMail7 on Amazon EC2
If you plan to send a high volume of emails and/or if your messages contain attachments that slow down the sending speed on your local computer or server, you can launch an Amazon EC2 instance, install EasyMail7 on the instance and send emails using EasyMail7 on the instance.
The advantages of using EasyMail7 on an Amazon EC2 instance are:
1 the sending speed increases considerably since all data is located within the same datacenter on Amazon;
2 you can send 62,000 emails for free per month if you are also using the Amazon SES API or SMTP server;
3 you can use online subscription forms provided by EasyMail7 to collect leads in real time;
4 you can handle the unsubscribe process online.
Follow the steps below to launch an Amazon EC2 instance and install EasyMail7 on it.
This tutorial assumes that you already have an account with Amazon.
Step 1. Launch EC2 Instance.
Go to the Amazon website at http://aws.amazon.com/ and login.
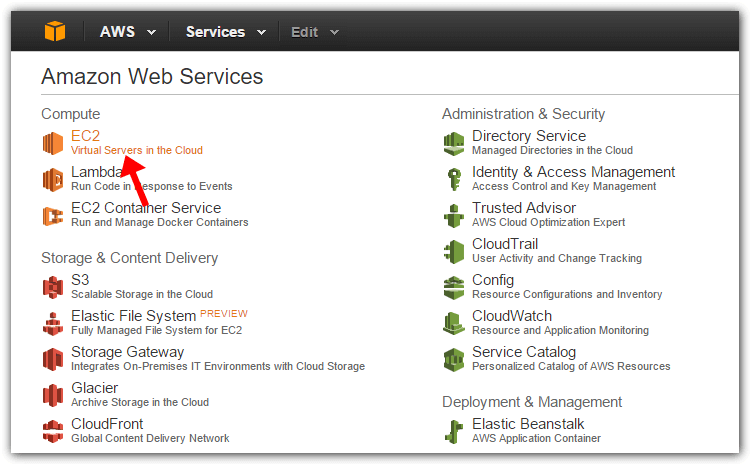
After login, go to “Services” and click on “EC2 (Virtual Servers in the Cloud)”.
Click “Launch Instance”.

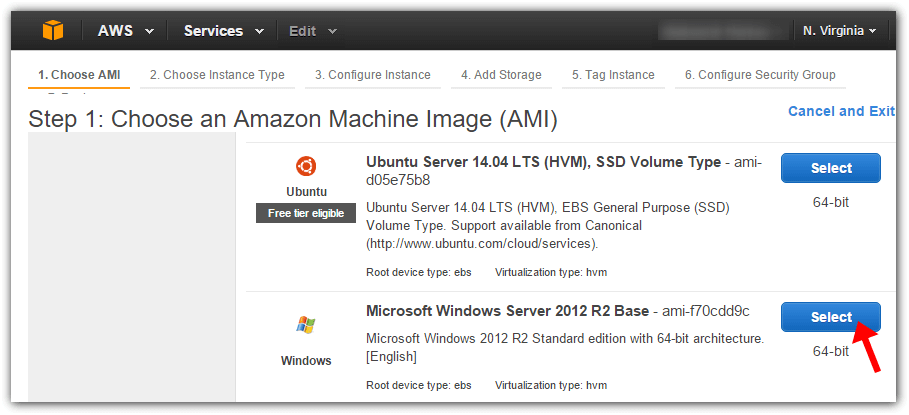
Choose an Amazon Machine Image (AMI). To use EasyMail7, you need a Microsoft Windows Server.
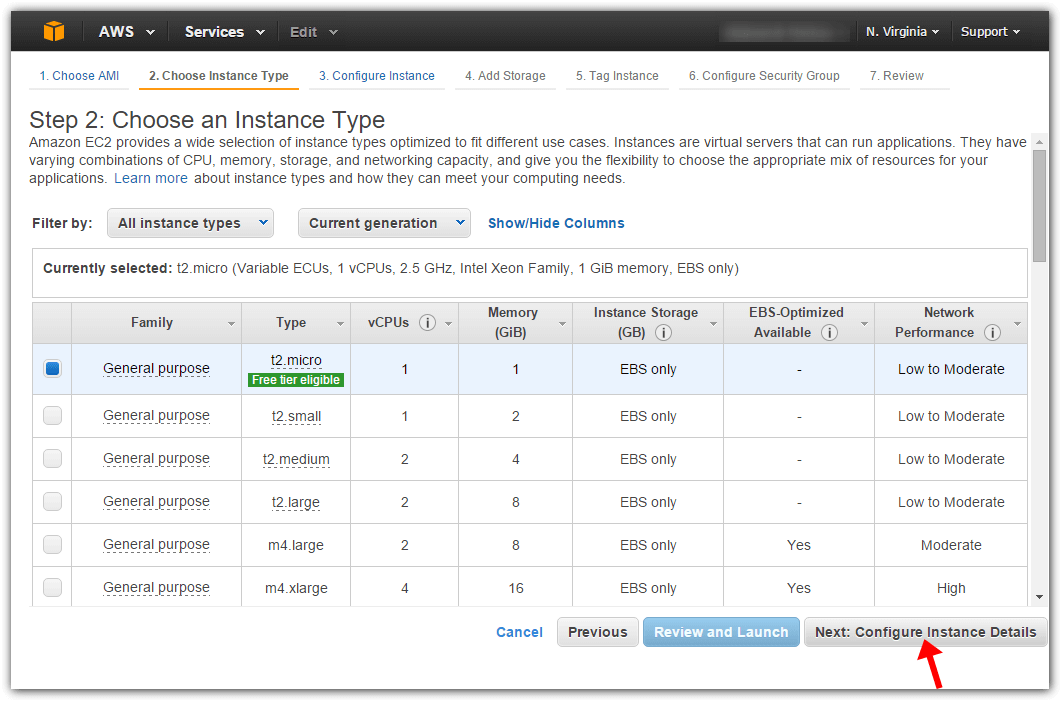
Choose an instance type depending on the size of your email list and sending frequency.
A t2.micro instance suits well for a tiny list with up to 10,000 subscribers.
A t2.small instance is for a small list with 50,000 recipients or less.
Choose a t2.medium instance if your list contains 50,000 – 200,000 subscribers. But if you send very often, choose a m3.medium instance.
If you have a huge subscriber base (500,000+ recipients) and you plan to email them frequently, choose an instance with a High Network Performance, for example, m3.large.
Click “Next: Configure Instance Details”.
At this step choose “Enable” in the “Auto-assign Public IP” field.
You can leave other settings at this step by default.
Click “Next: Add Storage”.

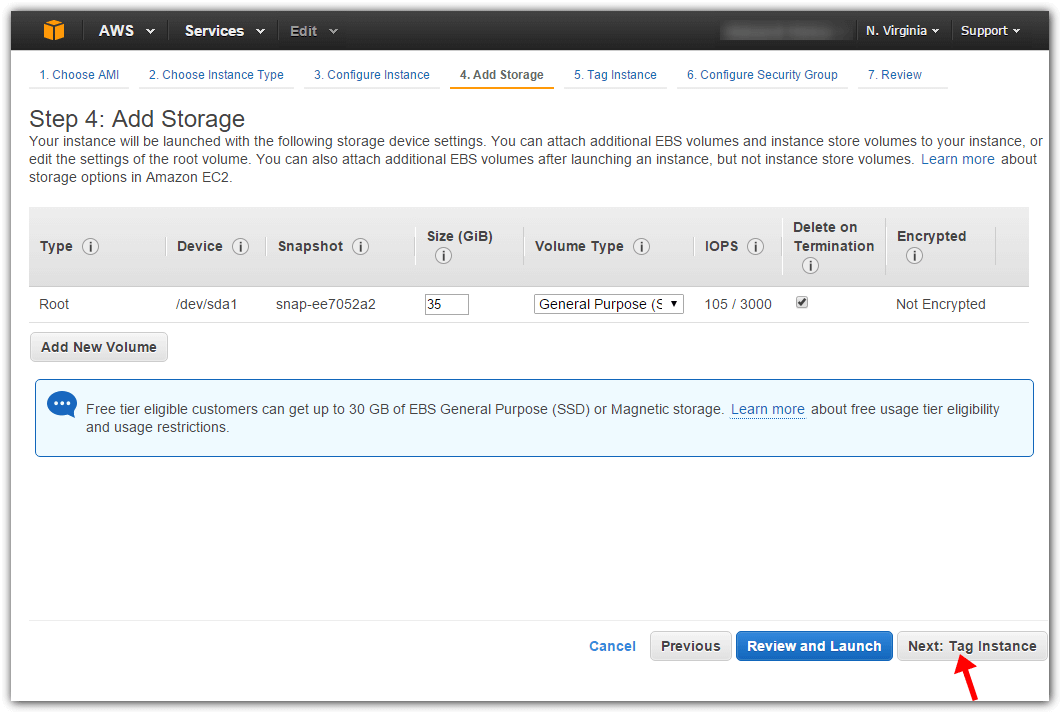
At this step you can increase the storage device volume if you have a big email list and plan to send email campaigns frequently. If you don’t, skip this step and go further.
Click “Next: Tag Instance”.
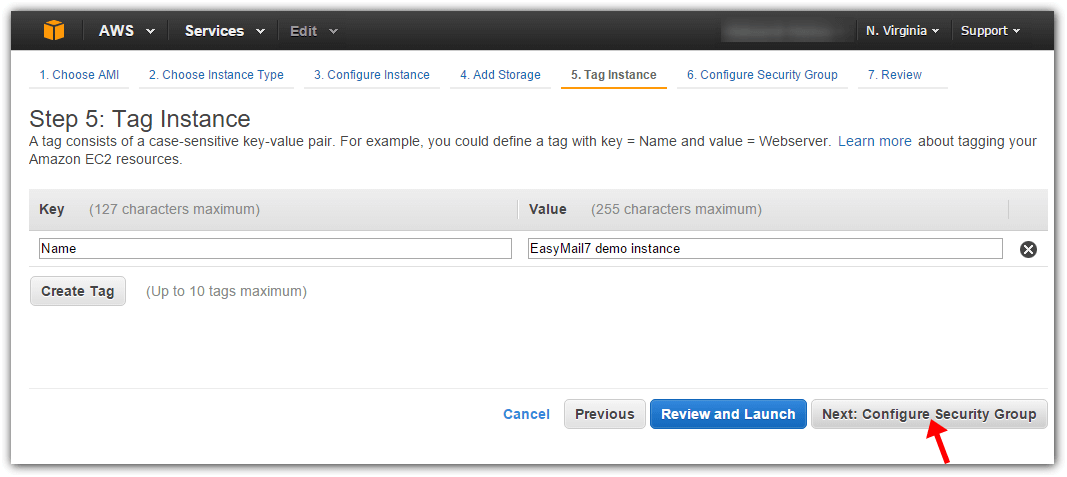
Enter a name for your instance into the “Value” field and click “Next: Configure Security Group”.
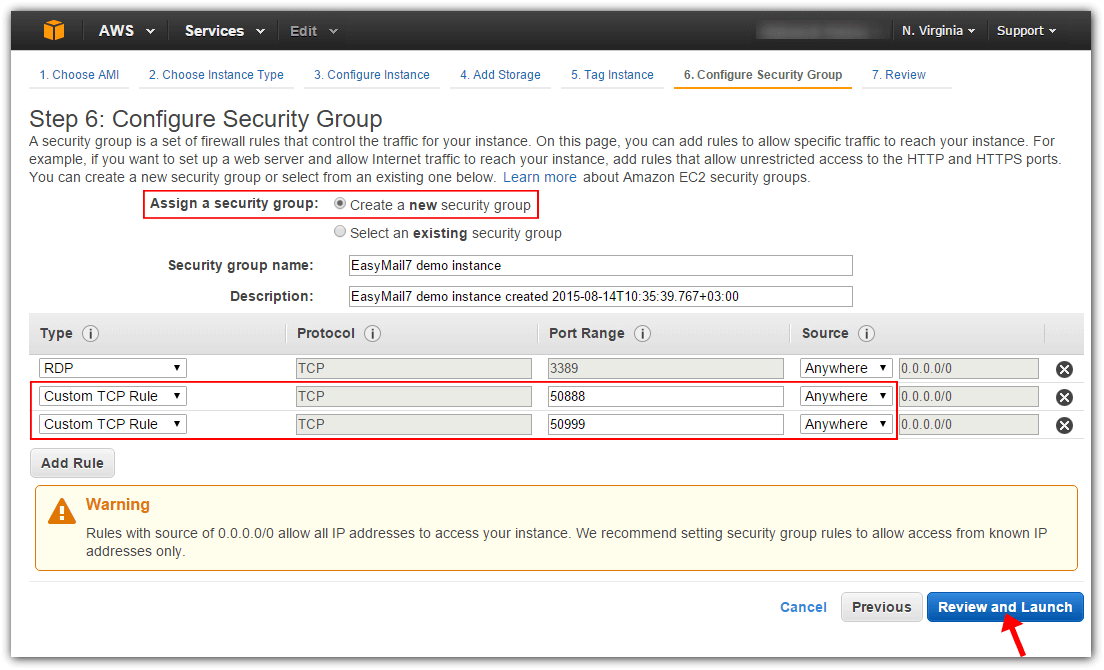
Check “Create a new security group” box and enter a security group name and description.
Add the rules for the ports 50888 and 50999 as shown on the image below to allow access to your instance from your local computer.
Click “Review and Launch”.
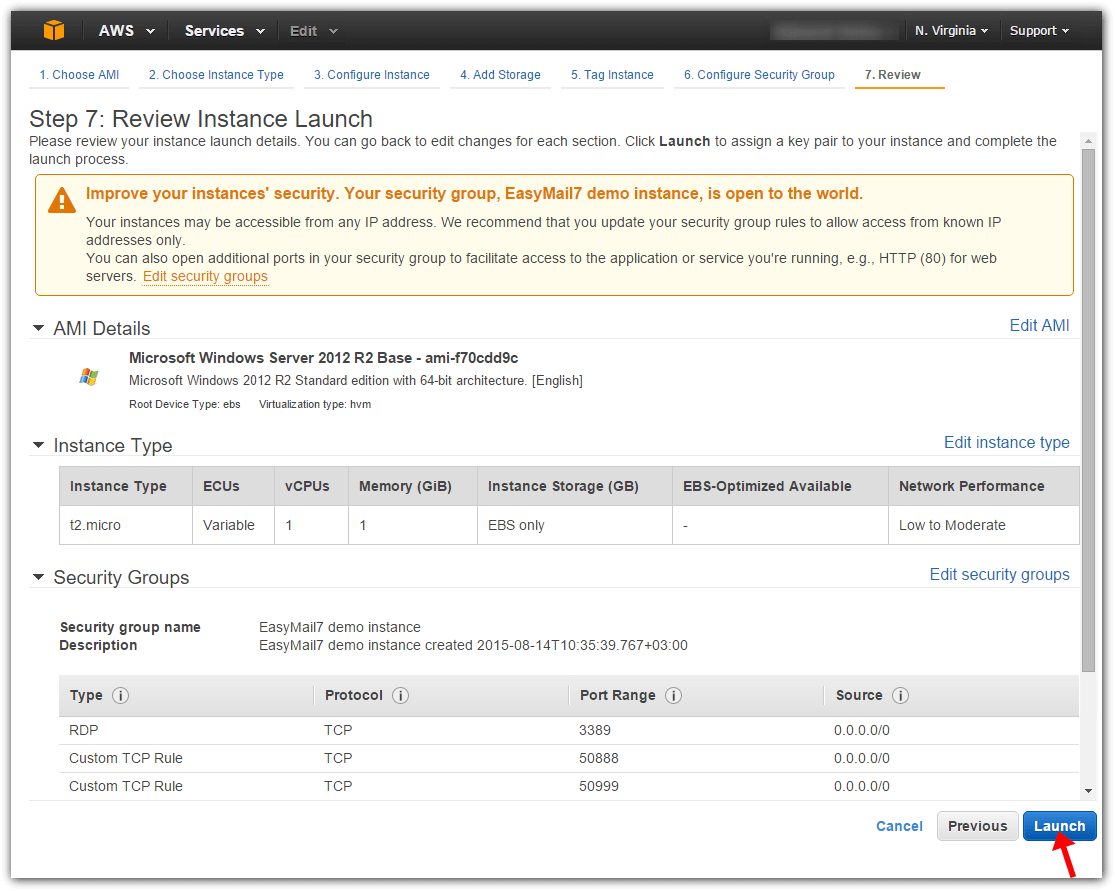
Review your instance configuration and click “Launch”.
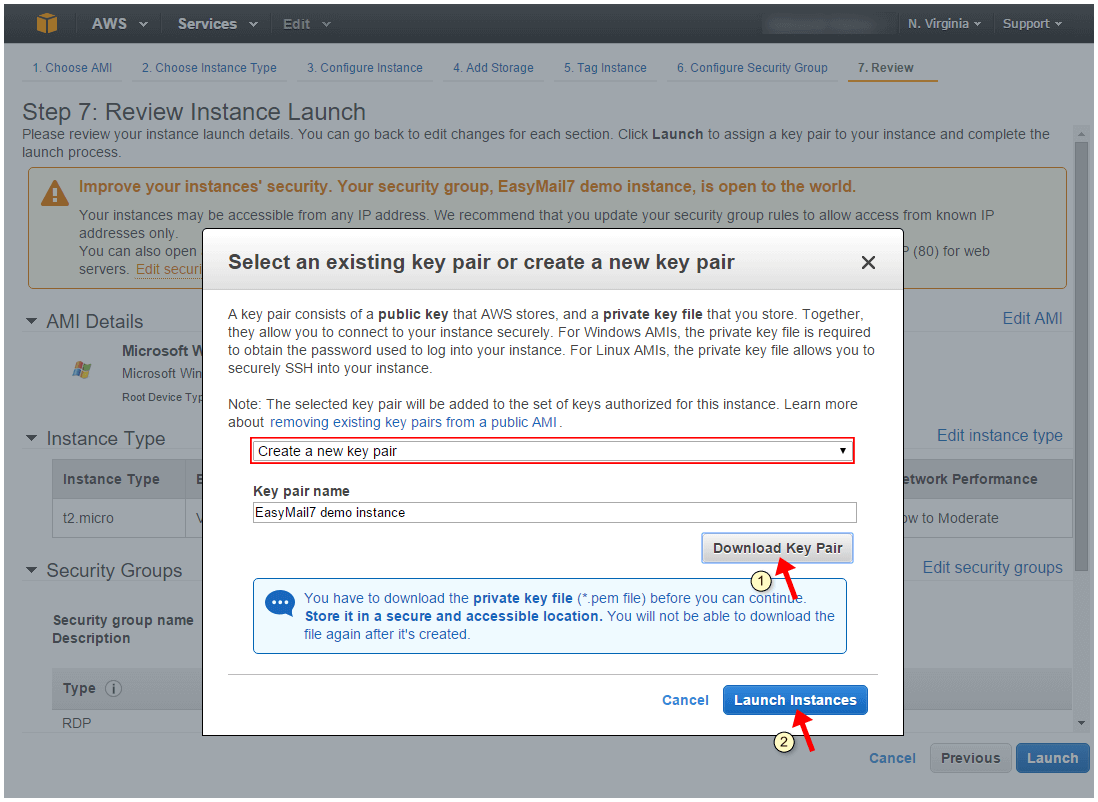
Now you have to create the keys that will allow you to connect to your EC2 instance securely.
Select “Create a new key pair”, enter a key pair name and click “Download Key Pair”.
Save the .pem file to a folder and keep it safe.
Then click “Launch Instances”.
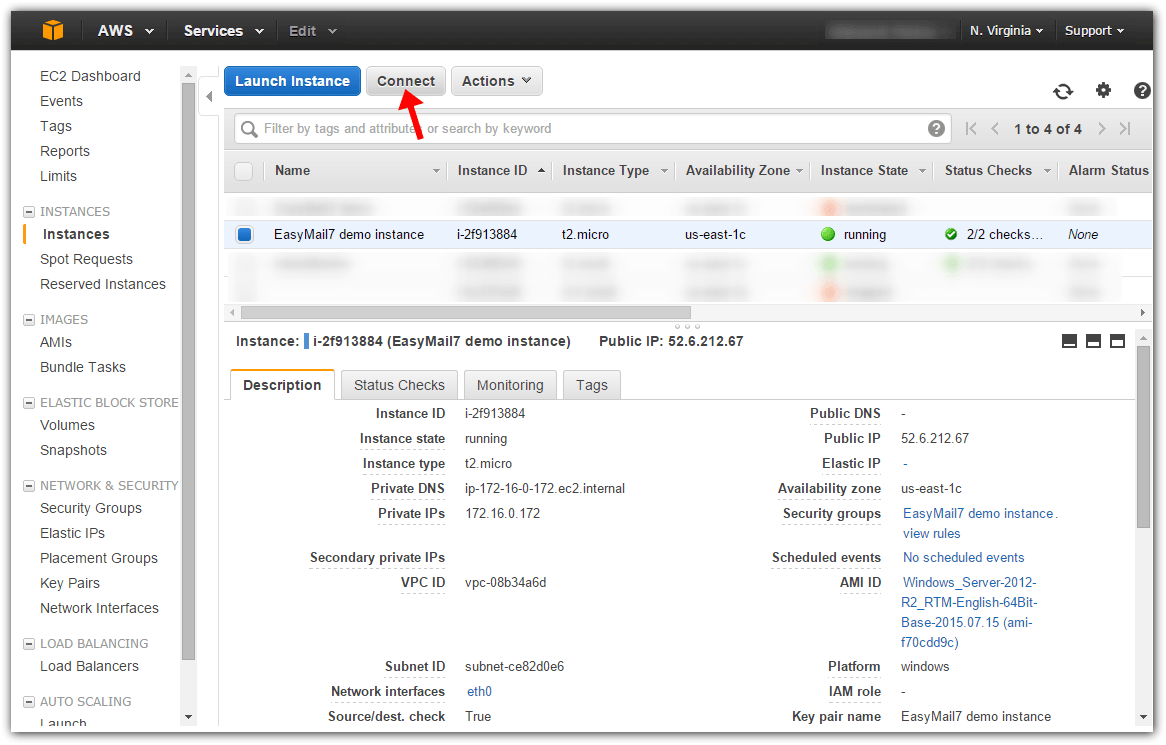
Click “View Instances”.

Wait until the instance state says “running” and click “Connect”.
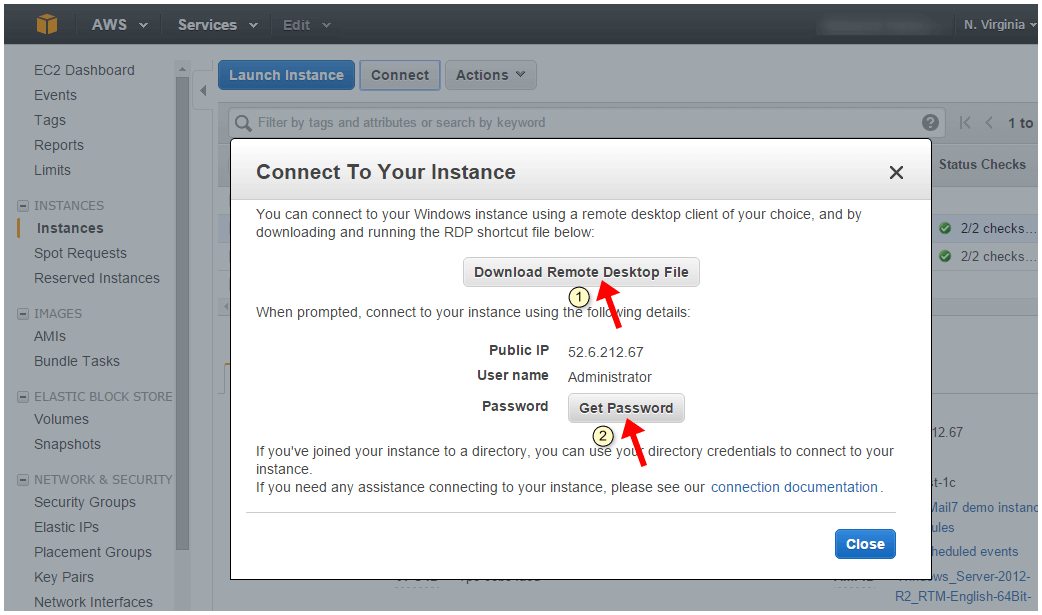
Download remote desktop and get your password to be able to connect to your EC2 instance from a local computer.
Choose your .pem file on the disk and then click “Decrypt Password”.
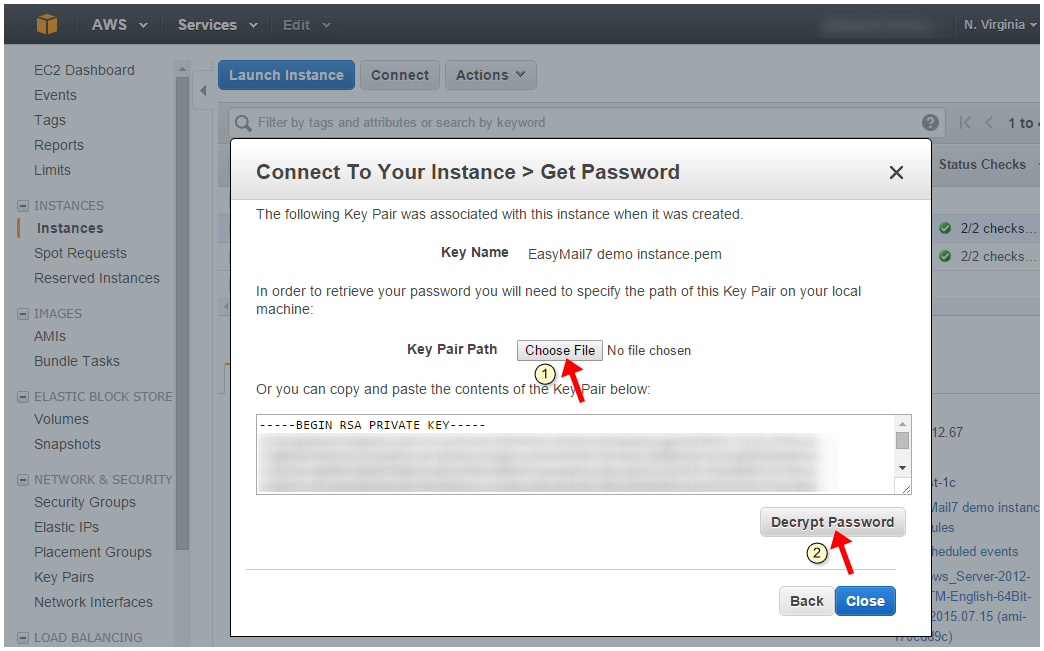
Copy your public IP, user name and password and save them to a safe place.
Click “Close”.

Step 2. Install EasyMail7 on EC2.
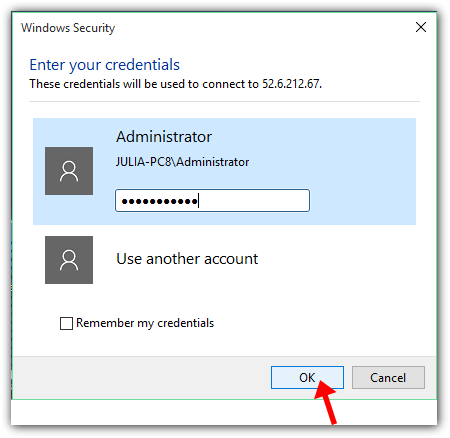
Start your Remote Desktop (.rdp file) and login to your EC2 instance with your password.
Copy the EasyMail7 setup file to your instance and run the setup. Install EasyMail7 on EC2 just like you do it on your local computer.
For your convenience, you can install both EasyMail7 Server and EasyMail7 Client on the EC2 instance. You can configure EasyMail7 and enter all your data using the EasyMail7 Client on the instance.
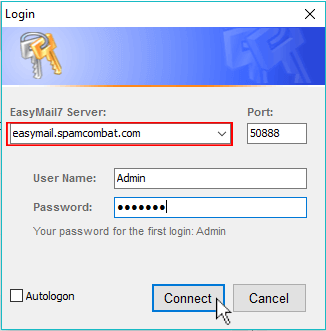
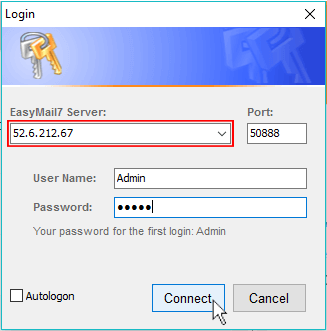
When everything is setup, open the EasyMail7 Client on your local computer and connect to the EasyMail7 Server on EC2.
On the login form enter the following information:
EasyMail7 Server: your public IP
Port: 50888
User name: your user name
Password: your password
If you login for the first time, enter the default user name Admin and default password Admin. You will be asked to change your password after login.
If you have a web site, you can add a DNS record with your public IP to the site.

After you add a DNS record, you can use the DNS record name instead of your public IP address to login to the EasyMail7 Server on your EC2 instance.