G-Lock EasyMail7 Web Client
G-Lock EasyMail7 has built in Web Service and offers a RESTful interface for consuming JSON content via AJAX or mobile clients.
We included the basic demo web client into the program installation which shows how to create a RESTful JavaScript client.
In the current version of the web client you can:
- compose an email message from a template or draft;
- compose an email message from scratch;
- send an email message to one or several groups;
- save an email message as a draft;
- edit and delete templates and drafts;
- view contacts in internal and external groups (databases);
- view sent emails in the Outbox.
The current version of G-Lock EasyMail7 web client does not allow you to create email server accounts, add contact groups, create links to databases, or handle bounce and unsubscribe emails.
You can login into the web client in any browser on any device including iPad, Android tablet pc, Windows tablet pc etc. and run an email campaign, check how the email campaign was sent, look through the contacts or simply check the data you have on the EasyMail7 Server.
Install G-Lock EasyMail7 Web Client
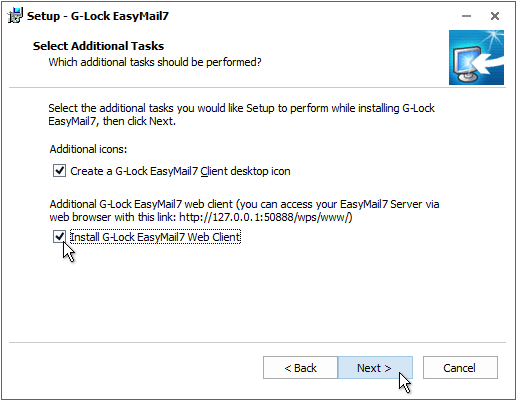
You can optionally install G-Lock EasyMail7 web client when you are installing G-Lock EasyMail7.
To install G-Lock EasyMail7 web client:
1. Check the "Install Web Client" option during the setup process.
2. Click “Next”.
3. Finish the setup process.

Login into Web Client
After you installed G-Lock EasyMail7 web client, you can login into it in your browser.
To login into G-Lock EasyMail7 web client:
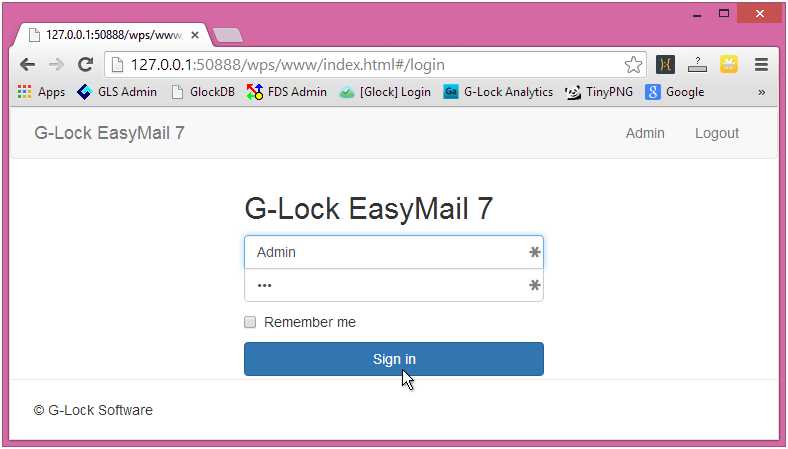
1. Open the URL http://[EasyMail7 Server IP]:50888/wps/www/ in the browser.
Replace [EasyMail7 Server IP] in the URL with the IP address, or computer name, or domain name where the EasyMail7 Server is installed.
Example: http://127.0.0.1:50888/wps/www/
2. Login with your user name and password.
3. Click "Sign in".

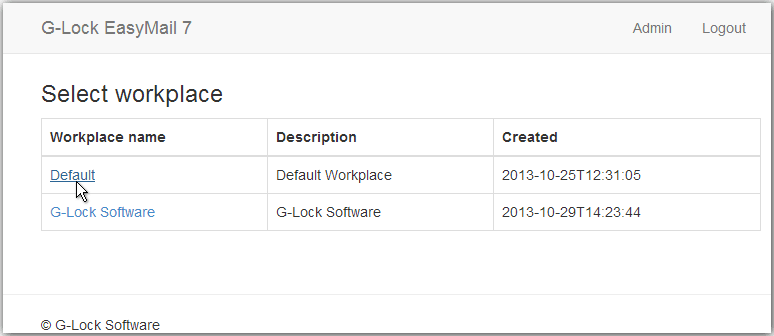
4. After you login, select the workplace you will work within.


